
How to Replace a Hyundai Bumper: The Ultimate
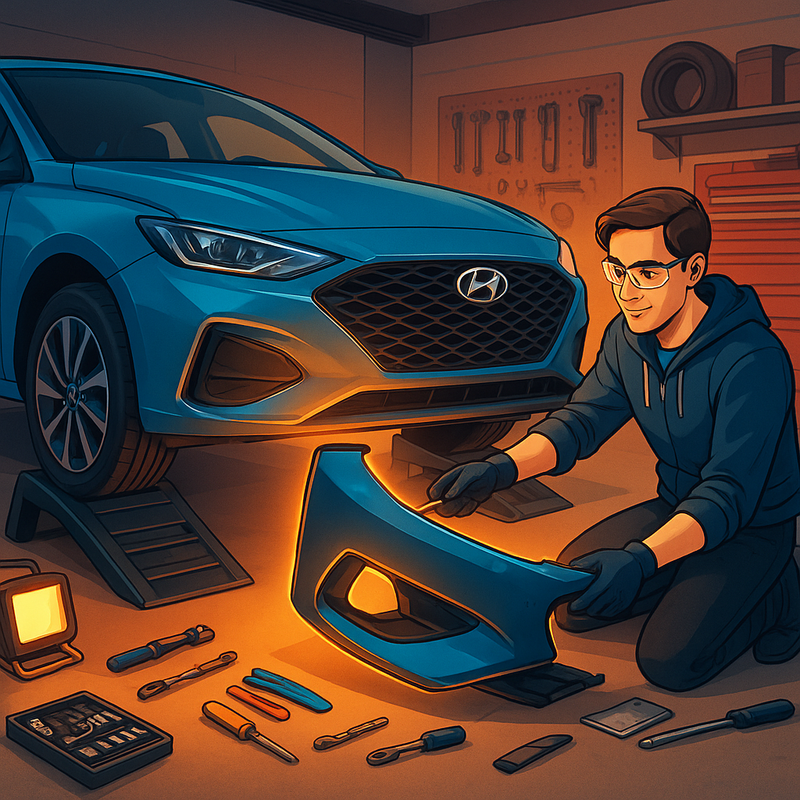
How to Replace a Hyundai Bumper: The Ultimate Step-by-Step Guide
Alright, gearheads and DIY enthusiasts, it’s time to tackle a task that might not win any speed contests but will definitely up your Hyundai’s game—bumper replacement. If your Hyundai’s bumper looks like it’s been through a Hollywood monster showdown, don’t fret. You don’t need to be a pro mechanic or a Jedi master to fix this. With the right tools, some patience, and maybe a strong coffee, you can restore your car’s sleek look and safety. Ready to learn how to replace a Hyundai bumper? Let’s get to it.
Why Replace Your Hyundai Bumper?
Your Hyundai’s bumper isn’t just a scrap of plastic spoiling the aesthetics when scratched—it’s your car’s frontline defense system. Acting like a superhero shield, it absorbs impact, protecting key parts like the radiator, engine, and headlights from serious damage. Driving around with a damaged bumper compromises your safety and dims your Hyundai’s curb appeal. So, replacing a worn or cracked bumper is essential both for protection and style.
Bottom line: Keeping your bumper in top shape means safer drives and a happier Hyundai.
Tools and Materials You’ll Need
- A new bumper compatible with your Hyundai’s model and year
- Phillips and flathead screwdrivers for varied screws
- Socket wrench set (10mm socket is a must-have)
- Trim or pry tools to gently pop clips without damage
- Protective gloves and safety glasses to keep you safe
- Jack and vehicle ramps (optional, but helpful for better access)
- Extra plastic push pins or clips for replacements
- Torque wrench (for precise tightening, highly recommended)
Step 1: Prepare Your Vehicle
Park your Hyundai on a flat, stable surface and firmly engage the parking brake. For front bumper replacement, lift the front using a jack or ramps, ensuring it’s secure. Open the hood and disconnect the battery—this prevents electrical surprises, especially if your bumper has lights or sensors attached.
Step 2: Remove Attached Components
Now, it’s time to clear the path:
- Remove splash shields secured by screws or clips.
- Carefully unplug fog lights or sensors connected to the bumper—handle with care!
- You might also need to remove the radiator cover or grille with your screwdriver.
Pro tip: On models like the 2016 Hyundai Elantra, bumper removal involves a few layers—engine cover, radiator cover, then bolts—like a mini DIY treasure hunt.
Step 3: Unscrew the Bumper Fasteners
Using your screwdrivers and 10mm socket, locate and remove bolts securing the bumper—typically along the fender edges, underbody skirts, and beneath the hood. Keep these screws safe; you’ll need them for reinstalling the new bumper.
Step 4: Carefully Detach the Bumper
The bumper usually stays put via clips, so gently pry it loose starting from the bottom edge, moving around carefully. Think of it like coaxing a nervous cat out from hiding—slow and steady. Support the bumper as you pull it off to avoid any accidental dents.
Step 5: Inspect and Prepare the New Bumper
Compare your shiny new bumper with the old one to confirm matching shape and style. Transfer any existing brackets, sensors, or lights to the new bumper. If your new bumper isn’t painted, consider matching it to your Hyundai’s color for that flawless finish.
Step 6: Install the New Bumper
Line up your new bumper carefully and press it into place until all clips securely snap in. Reattach all bolts and screws, reconnect electrical components, and reinstall splash shields and grille parts. Tighten bolts evenly to avoid a crooked or misaligned bumper.
Step 7: Final Checks
Lower the vehicle if it’s on ramps, reconnect the battery, and do a detailed inspection. Test fog lights and sensors to ensure functionality. Check bumper alignment and listen for any unusual noises. Congratulations—you’ve just completed a professional-quality Hyundai bumper replacement!
Pro Tips & Safety Reminders
- Always wear gloves and safety glasses—they’re your best defense against sharp edges.
- For peace of mind, invest in OEM or high-quality aftermarket bumpers—they fit better and last longer.
- Snap photos at every step to create your own DIY manual.
- Watch detailed tutorials on YouTube channels like ReveMoto for extra guidance.
- Bumpers are bulky—enlist a friend to help to avoid comedy-level mishaps.
Quick Case Study: Front Bumper Replacement on a 2014-2016 Hyundai Elantra
It’s the same solid process: remove fender liner screws, splash shields, and engine covers, unbolt bumper attachments, carefully detach the bumper, transfer necessary parts, secure the new bumper, then test to ensure all is perfect. Not exactly “Fast and Furious,” but definitely rewarding.
FAQ: Your Hyundai Bumper Questions Answered
A: Yes, minor cracks can be patched with fiberglass or carbon fiber kits. For major damage, replacement is the safer, smarter option.
A: Considerable savings—labor costs at shops can be pricey. Parts range from $200-$600, plus painting if you want a perfect match.
A: Handle with extra care or consult professionals, as these components are delicate and costly.
Final Thoughts
Replacing your Hyundai bumper is not just a repair—it’s a proud moment in your DIY journey that enhances your car’s safety and style. With patience, the right tools, and clear steps, you’ll have your Hyundai looking sharp again in no time. Ready to show that bumper who’s boss?
Happy wrenching, Hyundai drivers! 🚗🔧
Posts Widget
-
1

-
2

-
3

-
4


G-SPARTS – Leading Auto Parts Supplier Since 2009
Trusted by 1000+ Clients Worldwide | Chinese (BYD, Geely, Chery, …), Japanese (Toyota, Honda, Nissan, …), European (BMW, Mercedes, VW, …) & American (Ford, Chevrolet, Tesla, …) Car Spares | Best Prices & OEM Quality | 15+ Years Expertise | Professional Team, Fast Global Shipping
Copyright 2025 © G-Sparts All Rights Reserved. | Premium Chinese Auto Parts Supplier – Worldwide Shipping | Best Prices on OEM & Aftermarket Spares
